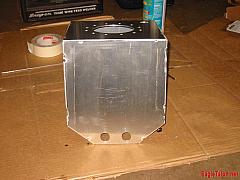
The parts of the fuel cell, all tacked together
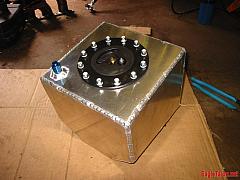
The fuel cell, welded
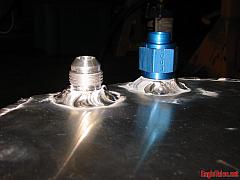
Bungs on the fuel cell
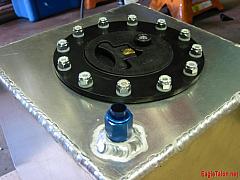
The filler cap and return line on the fuel cell.
The Fuel cell in the Talon was a relatively quick and easy item to get all squared away. While Mark and I were building the Intake manifold, I had some time to kill. I had ordered some random AN bungs, and a fuel cell sealed cap from Summit.
While Mark machined up the intake manifold flange over the fourth of July weekend, I spent time in the shop measuring and cutting a sheet of 6061 T6. Once I figured out the shape, and the size of the tank, and the sump, I went to work meauring and cutting up a bunch of aluminum. We ended up doing this out at Mark’s work.
It wasn’t until we got back to the shop that I welded up the aluminum cell. With the math, the cell was approximately just over 3 gallons. We confirmed that once we welded the cell up completely. The bungs went on the tank, along with the cap, and we started measuring. Using water, and a graduated container, we actually got more than three gallons out of the cell – it’s around 3.2 gallons.
The next step to the tank was mounting it in the car. This was a little more tricky than normal. Because of the way the cell was mounted between the framerails with nothing to protect it, NHRA required a 1-1/4″ by .063″ wall cage be mouted around the fuel cell. So, we built a cage that’d mount the cell, and the fuel pump (to be replaced later by twin pumps – more on that in the future) All in all, it turned out great 🙂